
이 포스트는
을 따라서 작성한 Flutter Simple Chat UI 에 관한 내용이다.
관련 포스트
- Base, Chat 화면 구현 (현재 포스트)
- Chat Detail 화면 구현
- 응용 01 (Chat Detail 화면) 화면 간 데이터 전달, 메세지 입력
- 응용 02 데이터 저장 및 읽기, 쓰기
- 응용 03 데이터 로컬 저장 및 읽기,쓰기_메세지로그편
환경
- MacBook Air (M1, 2020)
macOS Monterey (v12.4)
- Flutter 3.0.3
Dart 2.17.5
- Visual Studio Code 1.69.0
메인 화면 생성
/lib/main.dart 파일 내용을
1
2
3
4
5
6
7
8
9
10
11
12
13
14
15
16
17
18
19
import 'package:flutter/material.dart';

void main() {
  runApp(MyApp());
}

class MyApp extends StatelessWidget {
  @override
  Widget build(BuildContext context) {
    return MaterialApp(
      title: 'Flutter Demo',
      theme: ThemeData(
        primarySwatch: Colors.blue,
      ),
      debugShowCheckedModeBanner: false,
      home: Container(),
    );
  }
}
로 변경
lib폴더에 screen폴더를 추가 homePage.dart 파일을 생성
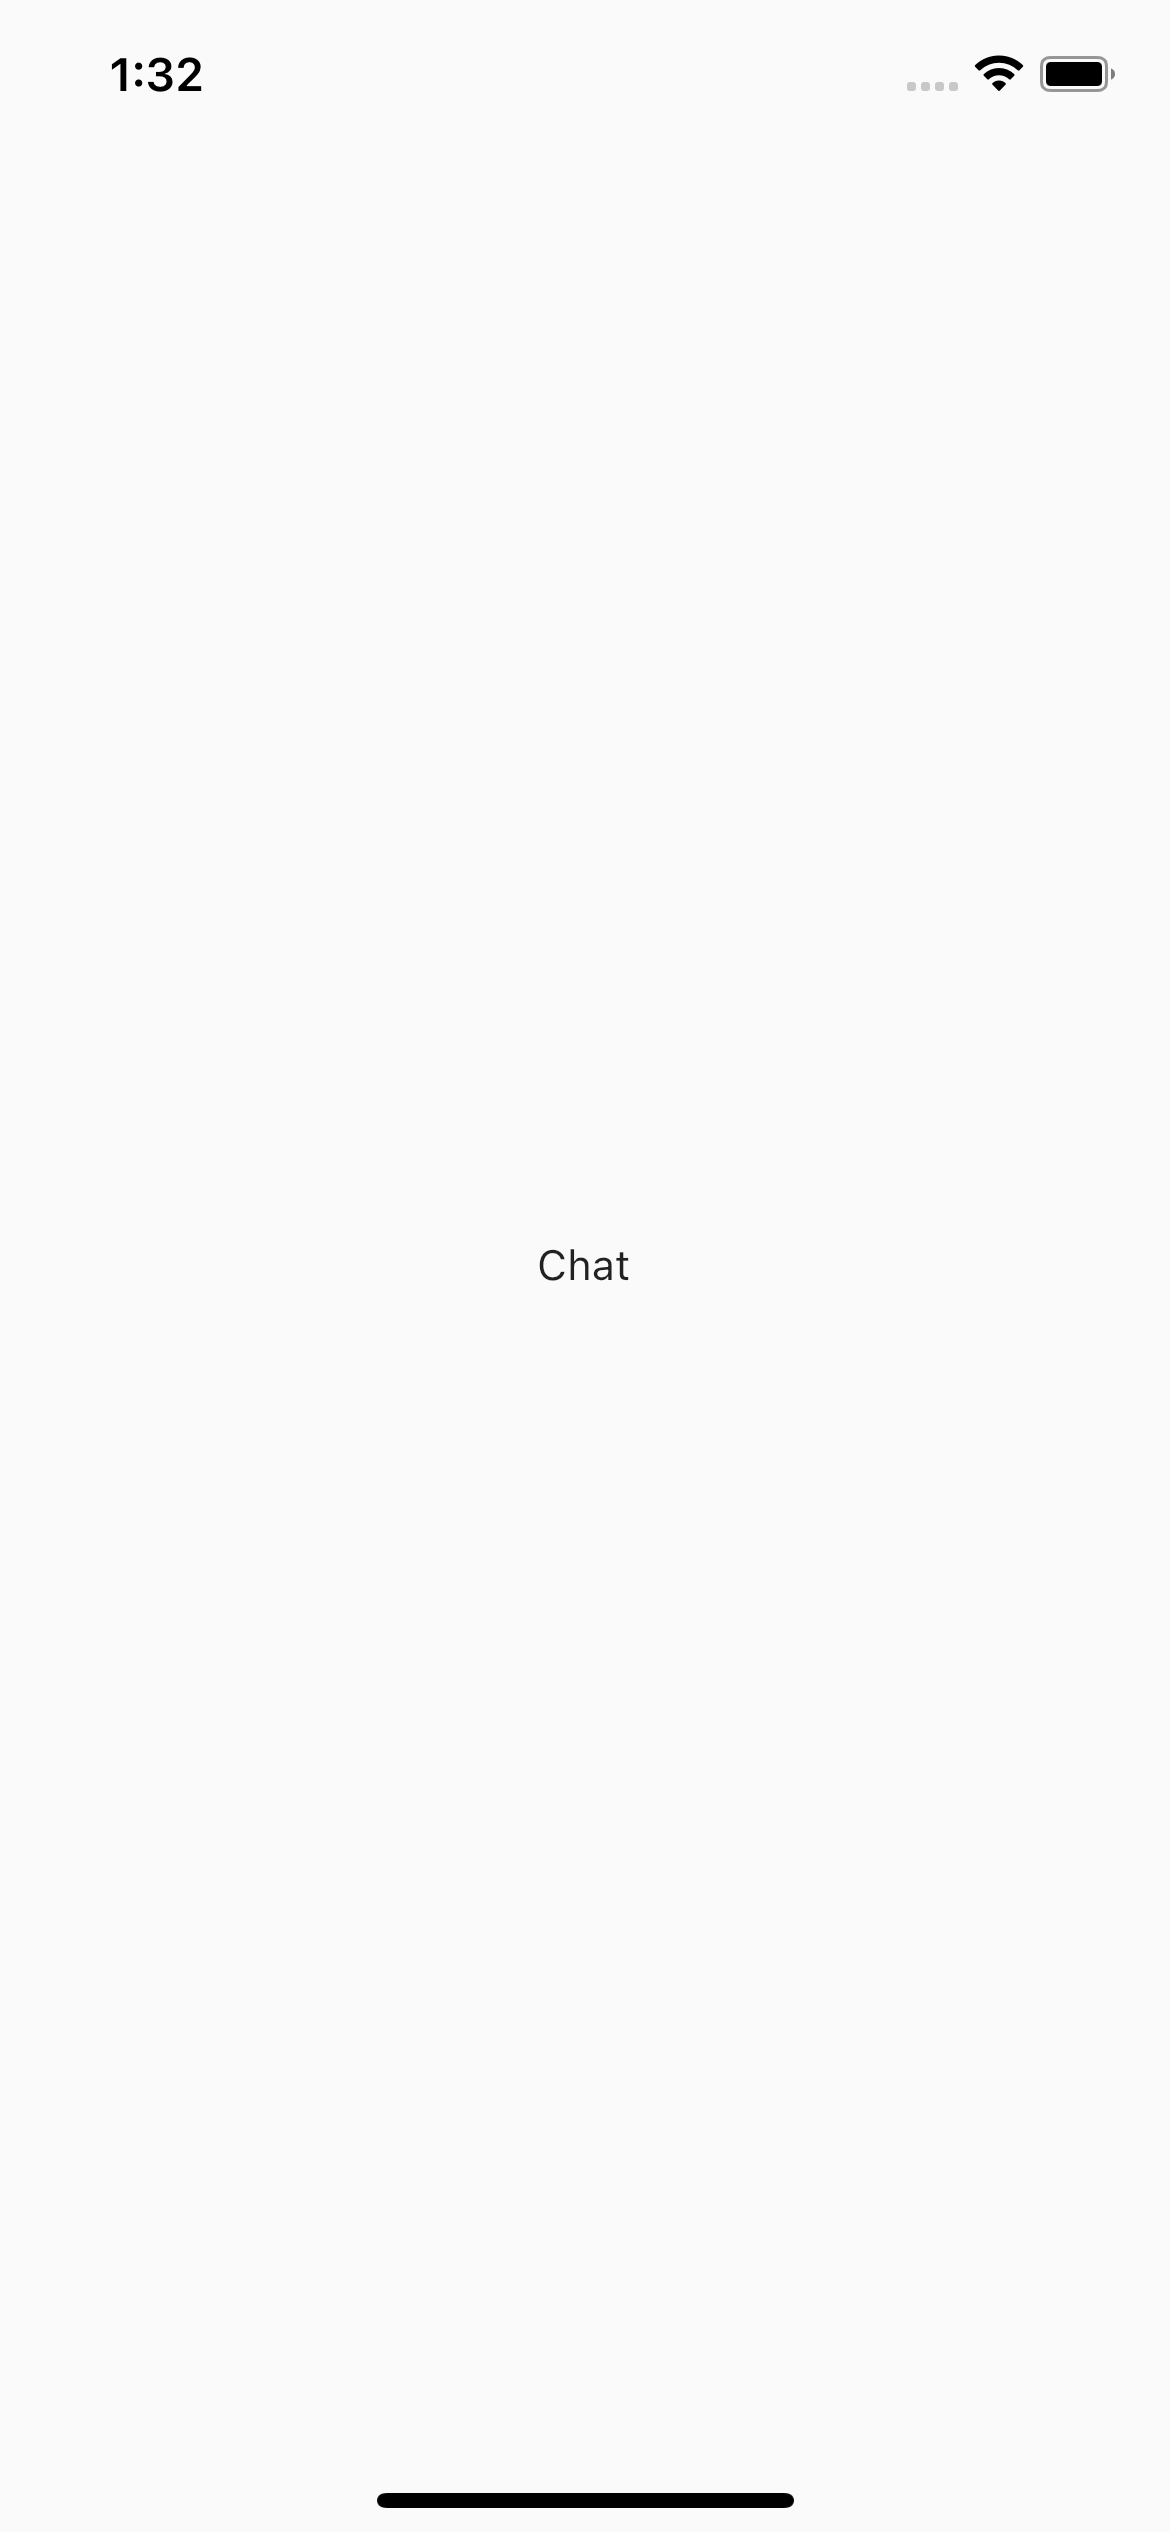
/lib/screen/homePage.dart 파일에
1
2
3
4
5
6
7
8
9
10
11
12
13
import 'package:flutter/material.dart';

class HomePage extends StatelessWidget{
  @override
  Widget build(BuildContext context) {
    return Scaffold(
      body: Container(
        child: Center(child: Text("Chat")),
      ),

    );
  }
}
을 입력
/lib/main.dart 에 좀전에 만든 파일을 임포트 해준 후,
1
import 'package:flt_20220703_simple_chatapp/screen/homePage.dart';
코드 중 home: Container(), 을 home: HomePage(), 로 변경
여기까의 /lib/main.dart 의 전체 코드
1
2
3
4
5
6
7
8
9
10
11
12
13
14
15
16
17
18
import 'package:flutter/material.dart';
import 'package:flt_20220703_simple_chatapp/screen/homePage.dart';

void main() => runApp(MyApp());

class MyApp extends StatelessWidget {
  @override
  Widget build(BuildContext context) {
    return MaterialApp(
      title: 'Flutter Demo',
      theme: ThemeData(
        primarySwatch: Colors.blue,
      ),
      debugShowCheckedModeBanner: false,
      home: HomePage(),
    );
  }
}
메인 화면: 하단바 추가
/lib/screen/homePage.dart 파일의 Scaffold 클래스의 내용을 변경해주자
1
2
3
4
5
6
7
8
9
10
11
12
13
14
15
16
17
18
19
20
21
22
23
24
    return Scaffold(
      body: ChatPage(),
      bottomNavigationBar: BottomNavigationBar(
        selectedItemColor: Colors.red,
        unselectedItemColor: Colors.grey.shade600,
        selectedLabelStyle: TextStyle(fontWeight: FontWeight.w600),
        unselectedLabelStyle: TextStyle(fontWeight: FontWeight.w600),
        type: BottomNavigationBarType.fixed,
        items: [
          BottomNavigationBarItem(
            icon: Icon(Icons.message),
            label: 'Chats',
          ),
          BottomNavigationBarItem(
            icon: Icon(Icons.group_work),
            label: 'Channels',
          ),
          BottomNavigationBarItem(
            icon: Icon(Icons.account_box),
            label: 'Profile',
          ),
        ],
      ),
    );
원문에는
BottomNavigationBarItem에 title 키로 텍스트를 입력하고 있는데, 버전 1.22 이후에는 title 대신 label 키를 쓰도록 바뀌었다

Chatpage : 대화 목록 화면 구현
lib/screen폴더에 chatPage.dart 파일을 생성
/lib/screen/chatPage.dart 파일에
1
2
3
4
5
6
7
8
9
10
11
12
13
14
15
16
17
import 'package:flutter/material.dart';

class ChatPage extends StatefulWidget {
  @override
  _ChatPageState createState() => _ChatPageState();
}

class _ChatPageState extends State<ChatPage> {
  @override
  Widget build(BuildContext context) {
    return Scaffold(
      body: SingleChildScrollView(
        child: Center(child: Text("Chat")),
      ),
    );
  }
}
을 입력
/lib/screen/homePage.dart 파일에
1
import 'package:flt_20220703_simple_chatapp/screen/chatPage.dart';
임포트 해주고
1
2
3
4
    return Scaffold(
      body: Container(
        child: Center(child: Text("Chat")),
      ),
를
1
2
    return Scaffold(
      body: ChatPage(),
로 변경
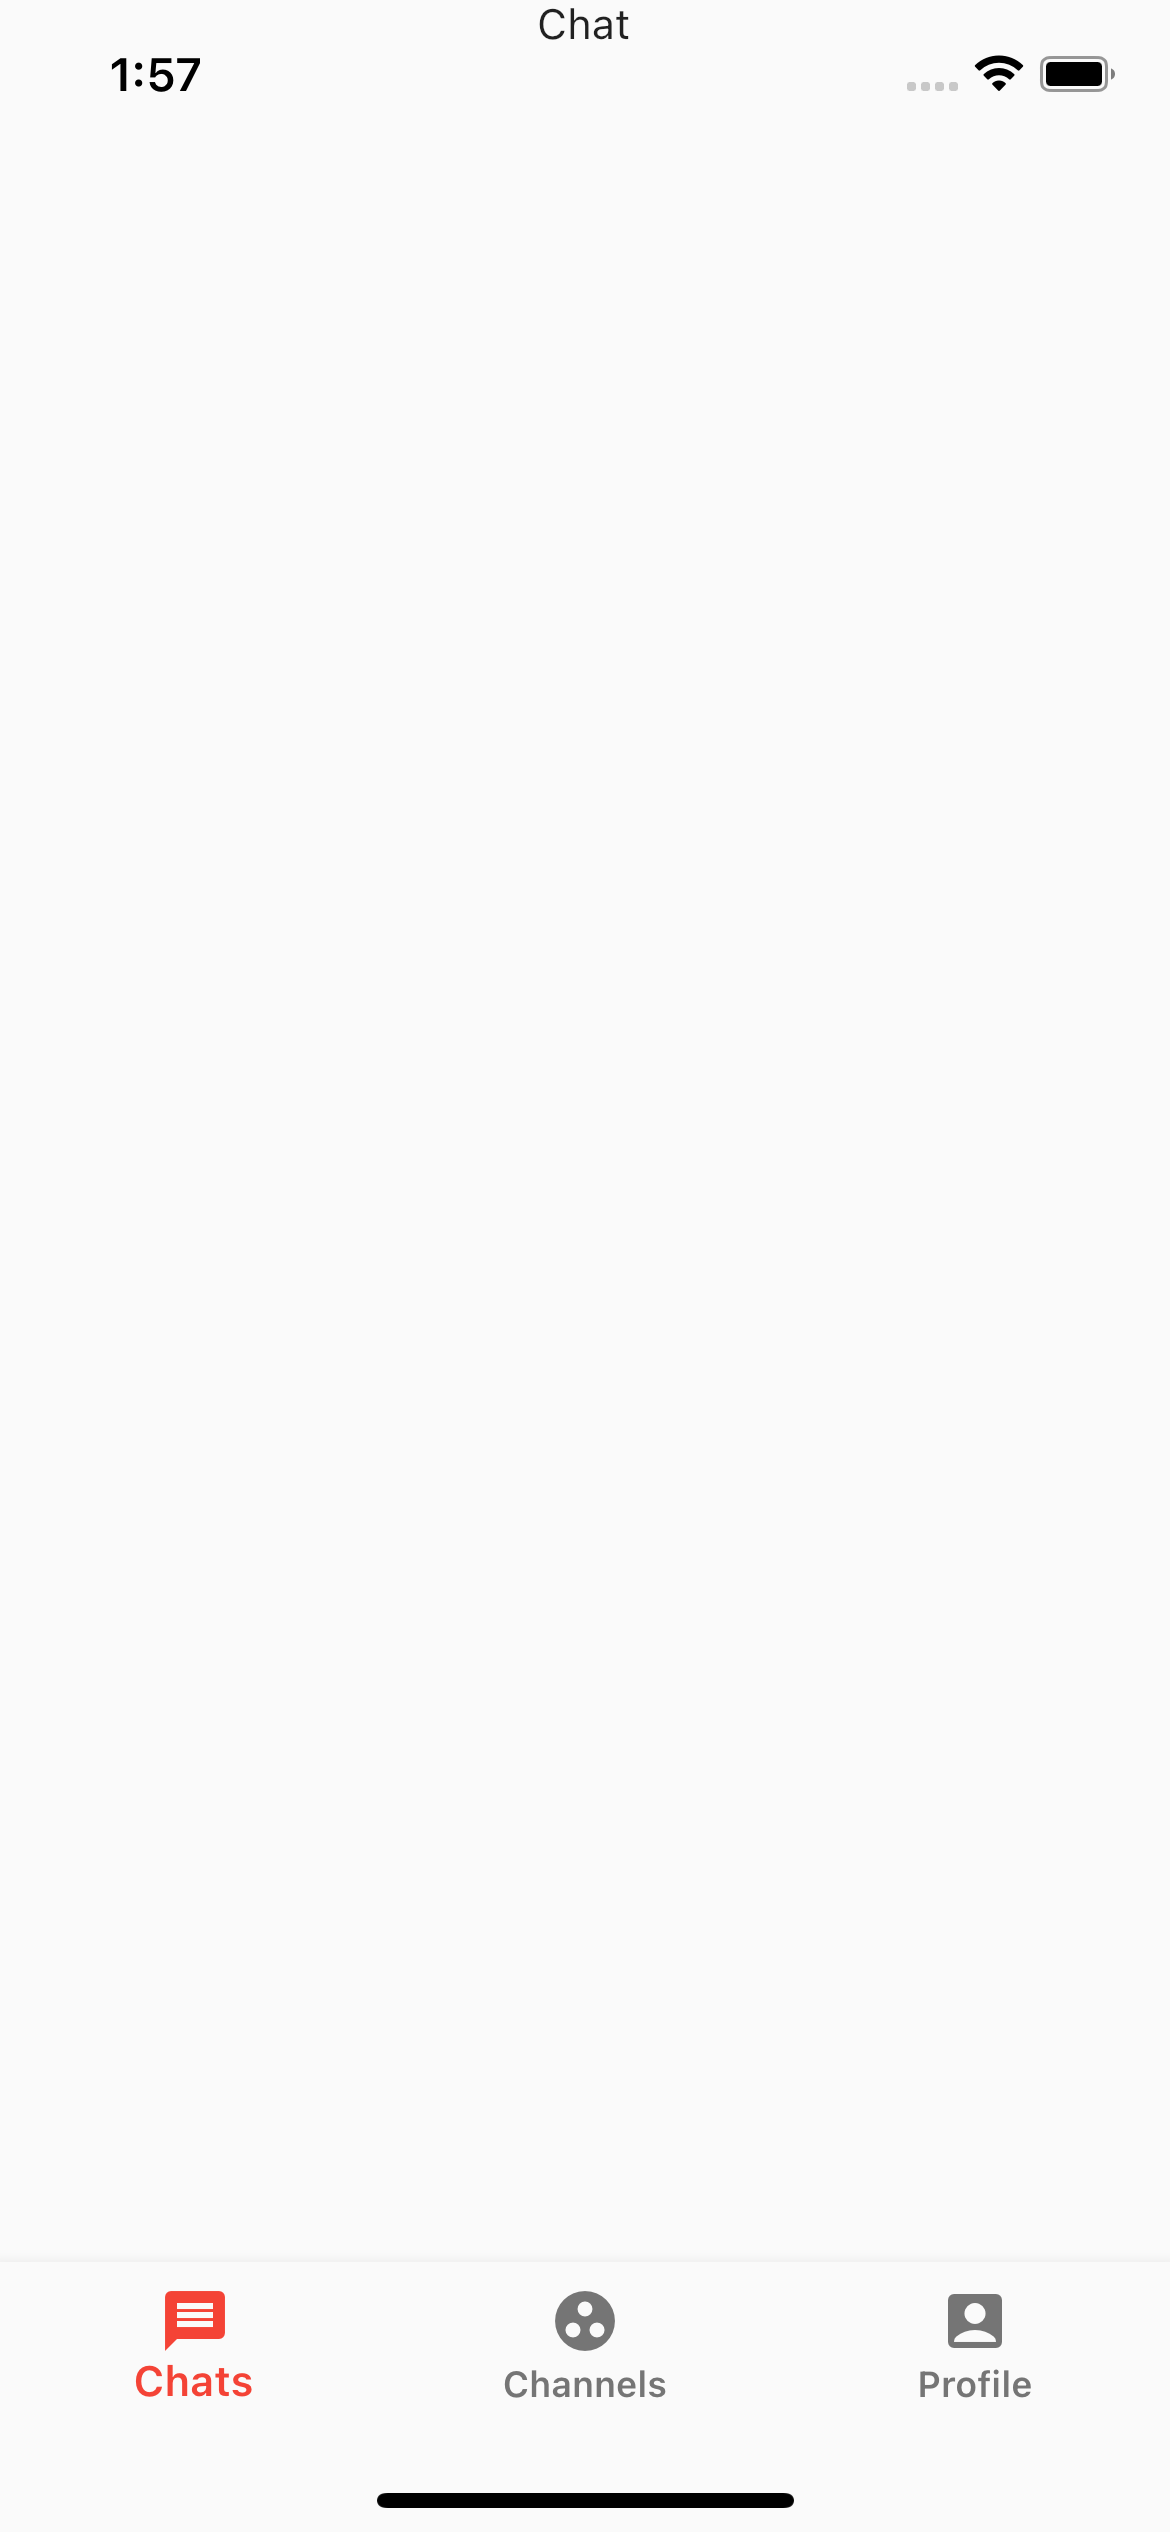
변한건 별로 없어 보이지만, chat이라고 텍스트만 쓰여져 있던 화면이 아닌, 새로운 레이어로 덮혀진 상태라는 걸 알 수 있다.
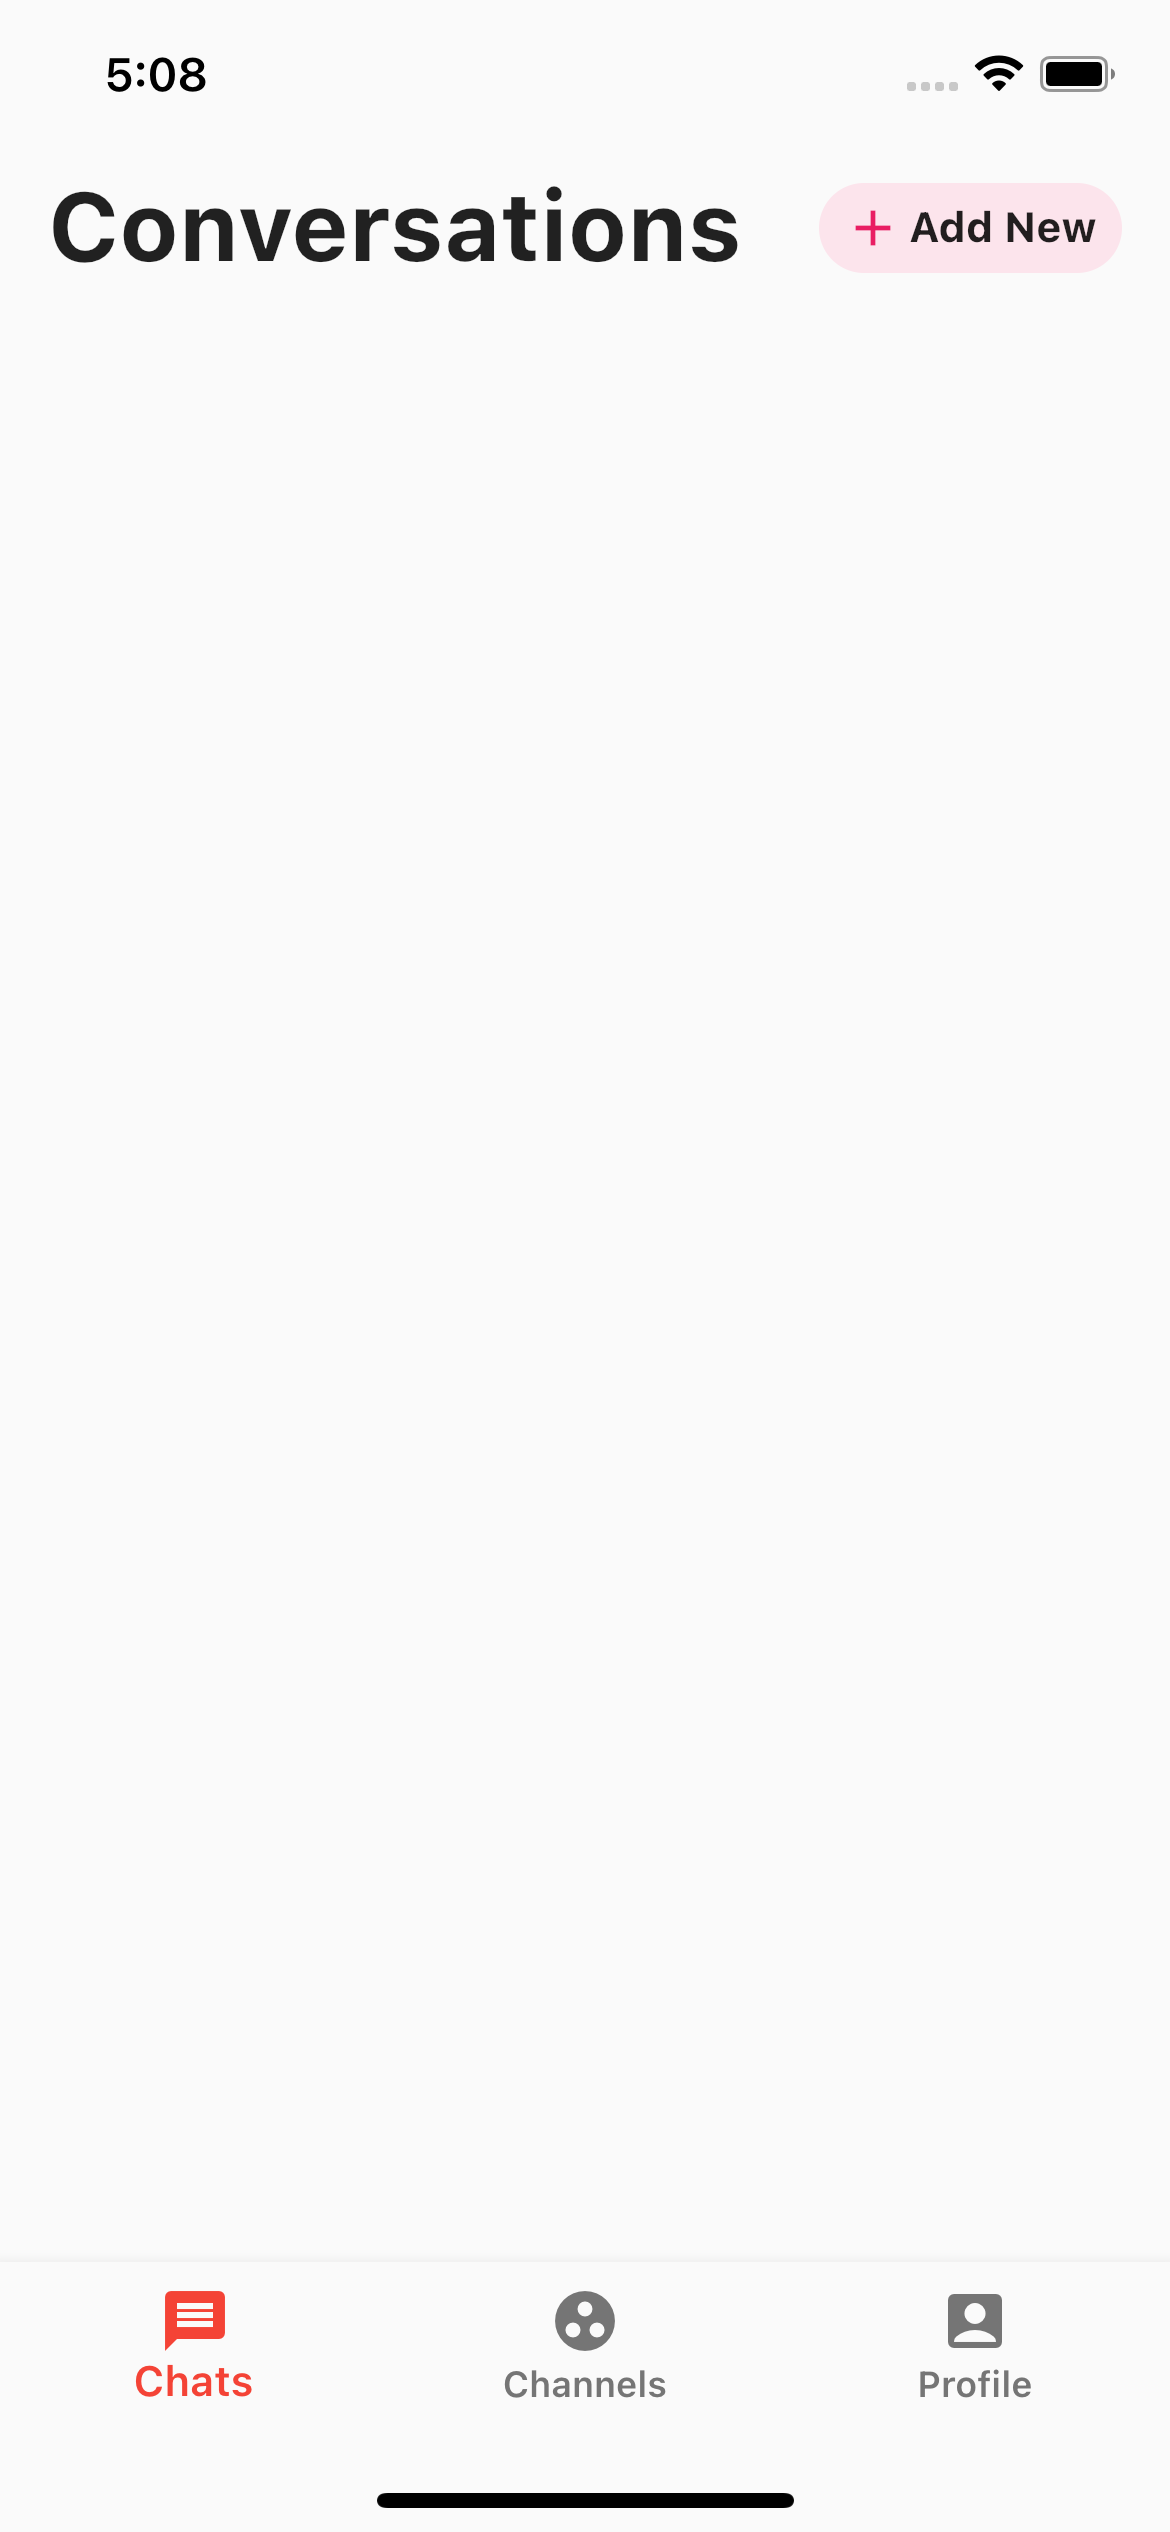
헤더를 만들어주자
이제부터 본격적으로 chat page ui를 만들어 주는 작업
/lib/screen/chatPage.dart 파일에 _ChatPageState 클래스 build위젯 내용을 수정해서 대화 목록을 표시할 것임
1
2
3
4
5
    return Scaffold(
      body: SingleChildScrollView(
        child: Center(child: Text("Chat")),
      ),
    );
을
1
2
3
4
5
6
7
8
9
10
11
12
13
14
15
16
17
18
19
20
21
22
23
24
25
26
27
28
29
30
31
32
33
34
35
36
    return Scaffold(
      body: SingleChildScrollView(
        physics: BouncingScrollPhysics(),
        child: Column(
          crossAxisAlignment: CrossAxisAlignment.start,
          children: <Widget>[
            SafeArea(
              child: Padding(
                padding: EdgeInsets.only(left: 16,right: 16,top: 10),
                child: Row(
                  mainAxisAlignment: MainAxisAlignment.spaceBetween,
                  children: <Widget>[
                    Text("Conversations",style: TextStyle(fontSize: 32,fontWeight: FontWeight.bold),),
                    Container(
                      padding: EdgeInsets.only(left: 8,right: 8,top: 2,bottom: 2),
                      height: 30,
                      decoration: BoxDecoration(
                        borderRadius: BorderRadius.circular(30),
                        color: Colors.pink[50],
                      ),
                      child: Row(
                        children: <Widget>[
                          Icon(Icons.add,color: Colors.pink,size: 20,),
                          SizedBox(width: 2,),
                          Text("Add New",style: TextStyle(fontSize: 14,fontWeight: FontWeight.bold),),
                        ],
                      ),
                    )
                  ],
                ),
              ),
            ),
          ],
        ),
      ),
    );
로 수정
- body: SingleChildScrollView
chatPage 의 본문을 전체적으로 스크롤 할 수 있도록 - physics: BouncingScrollPhysics()
사용자의 스크롤이 끝/시작부분에 도달할 때 바운싱 효과를 내어, 끝 부분에 도달했음을 알기 쉽게 함 - children: < Widget > [Text(), Container()]
헤더를 표시할 텍스트 위젯과 컨테이너 - child: Column
SingleChildScrollView 의 모든 하위 항목은 수직으로 표시함
검색창을 만들어주자
Column 위젯의 내용을 변경 children:SafeArea(), 다음에
1
2
3
4
5
6
7
8
9
10
11
12
13
14
15
16
17
18
19
Padding(
  padding: EdgeInsets.only(top: 16,left: 16,right: 16),
  child: TextField(
    decoration: InputDecoration(
      hintText: "Search...",
      hintStyle: TextStyle(color: Colors.grey.shade600),
      prefixIcon: Icon(Icons.search,color: Colors.grey.shade600, size: 20,),
      filled: true,
      fillColor: Colors.grey.shade100,
      contentPadding: EdgeInsets.all(8),
      enabledBorder: OutlineInputBorder(
          borderRadius: BorderRadius.circular(20),
          borderSide: BorderSide(
              color: Colors.grey.shade100
          )
      ),
    ),
  ),
),
를 추가
여기까지의 화면

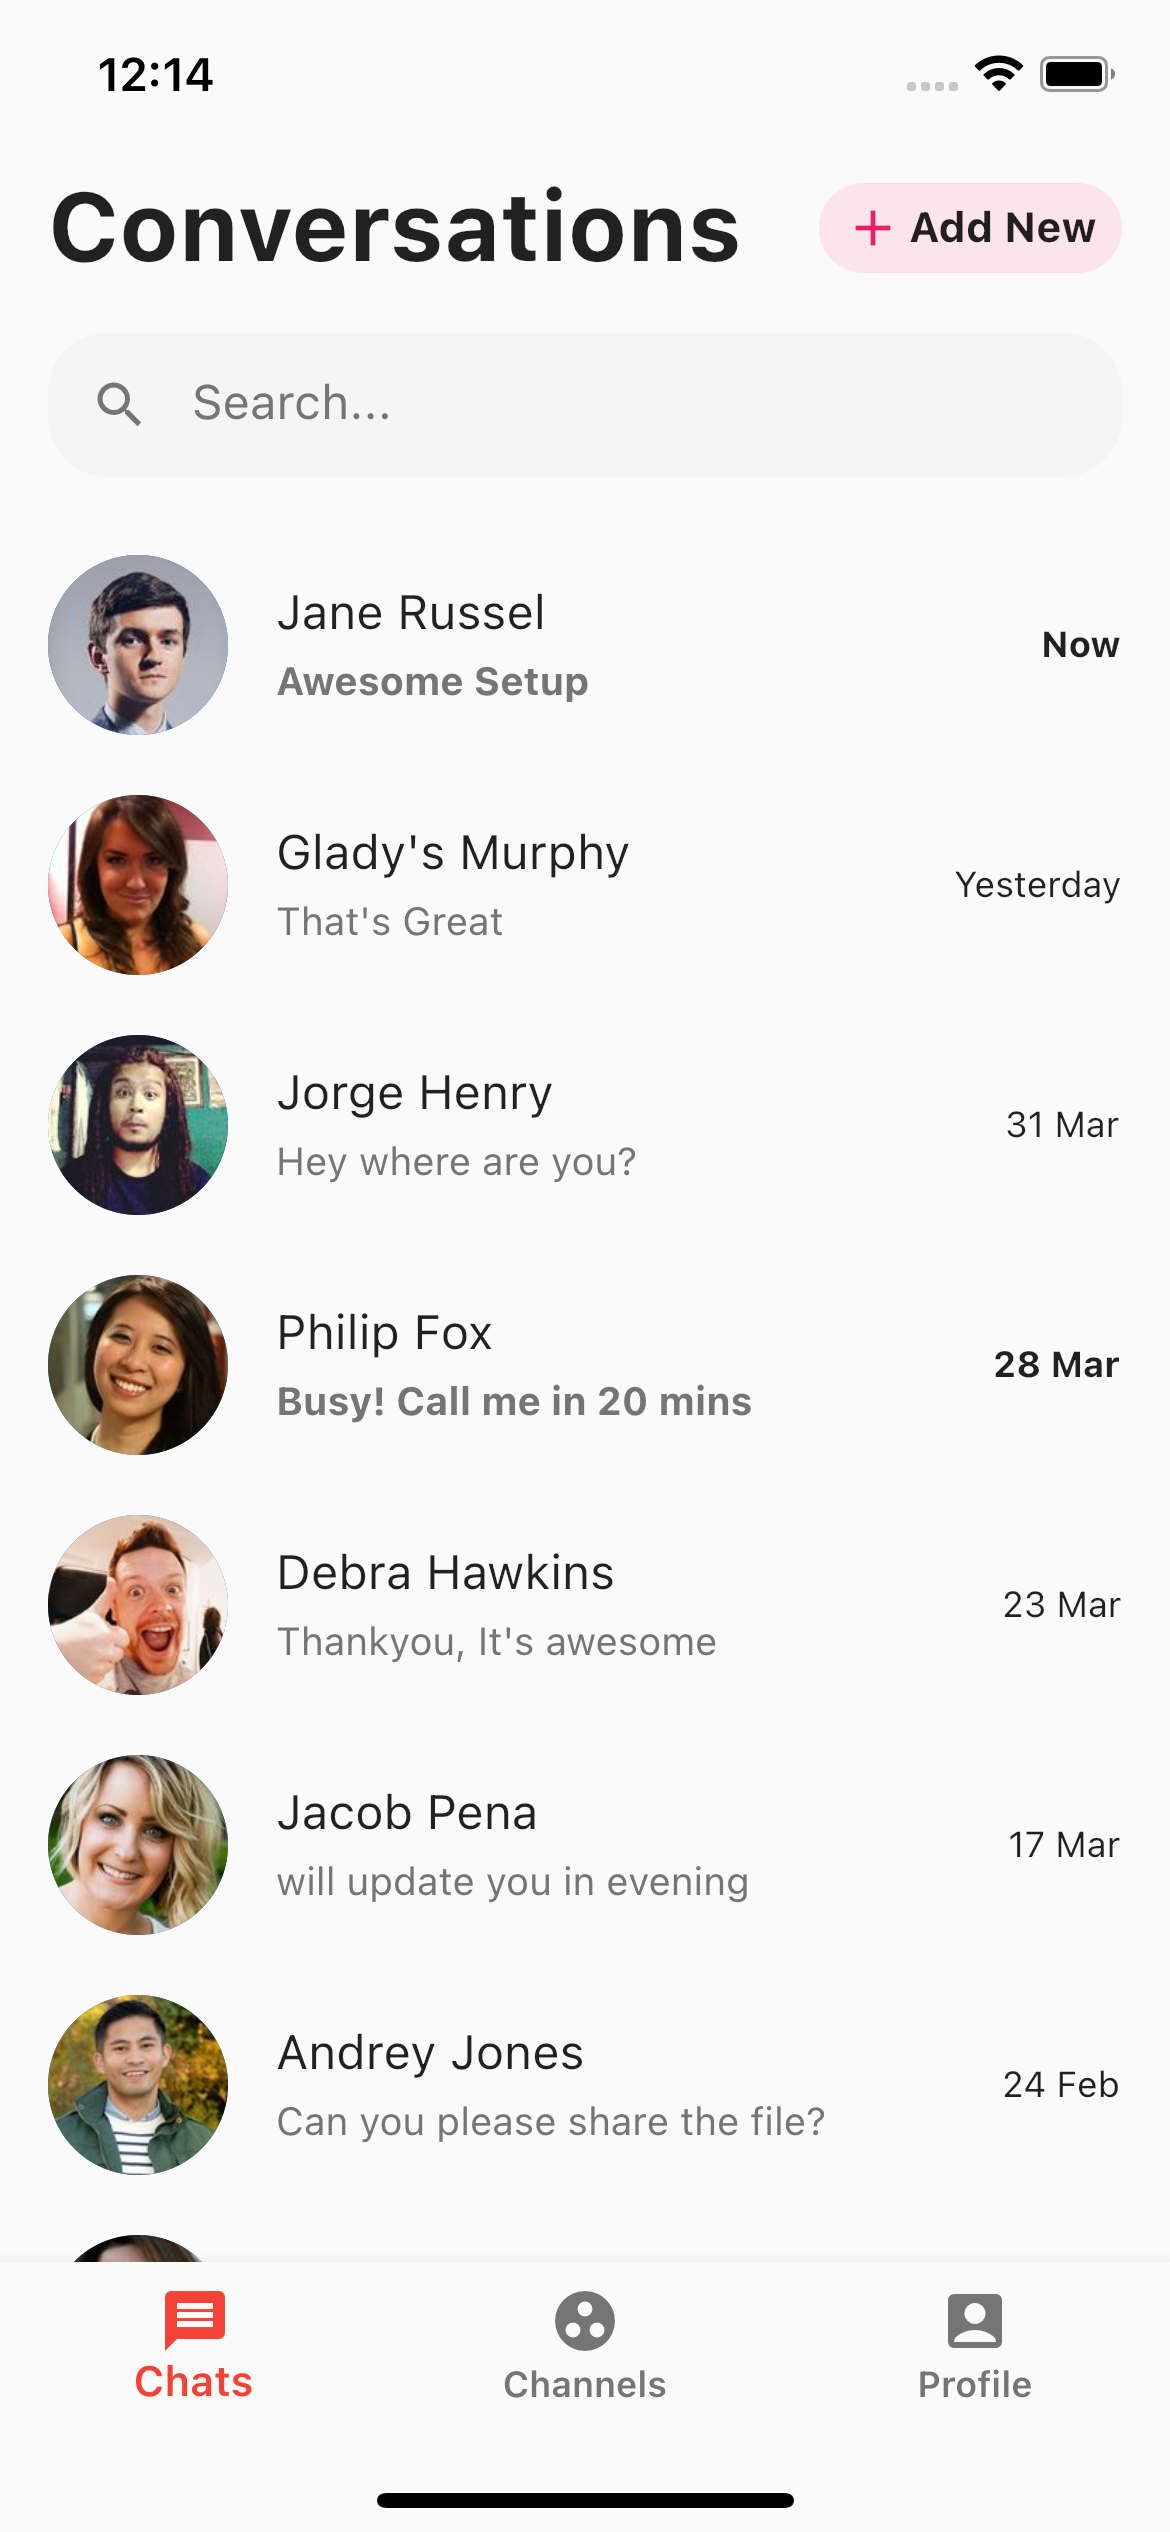
대화 목록을 만들어 주자
대화 목록의 인스턴스를 저장하는 클래스(객체) 모델을 먼저 만들어야 함
./lib 폴더에 ./models 라는 폴더를 생성
./models 안에 chatUsersModel.dart 라는 파일을 생성 /lib/models/chatUsersModel.dart 파일에
1
2
3
4
5
6
7
8
9
import 'package:flutter/cupertino.dart';

class ChatUsers{
  String name;
  String messageText;
  String imageURL;
  String time;
  ChatUsers({required this.name,required this.messageText,required this.imageURL,required this.time});
}
와 같이 ChatUsers 라는 클래스를 작성
ChatUsers 객체에는 사용자 이름, 텍스트 메세지, 이미지 URL, 시간이 저장됨
원문에는 입력 받아야할 파라메터들 앞에 반드시 값이 필요하다는 의미로
@required어노테이션(Annotation)을 사용을 하고 있는데, Flutter 2.0 부터는 null safty 문제로requried를 쓰도록 바뀌었다.requried을 사용하면 필수 파라메터가 들어오지 않았을 때, 빌드 시 에러를 내보낼 수 있다.
그 다음 다시 /lib/screen/chatPage.dart 로 돌아와서
1
import 'package:flt_20220703_simple_chatapp/models/chatUsersModel.dart';
해주고, 방금 만든 클래스를 이용해 사용자 목록을 만들어 주자
1
2
3
4
5
6
7
8
9
10
List<ChatUsers> chatUsers = [
    ChatUsers(name: "Jane Russel", messageText: "Awesome Setup", imageURL: "https://randomuser.me/api/portraits/men/1.jpg", time: "Now"),
    ChatUsers(name: "Glady's Murphy", messageText: "That's Great", imageURL: "https://randomuser.me/api/portraits/women/1.jpg", time: "Yesterday"),
    ChatUsers(name: "Jorge Henry", messageText: "Hey where are you?", imageURL: "https://randomuser.me/api/portraits/men/2.jpg", time: "31 Mar"),
    ChatUsers(name: "Philip Fox", messageText: "Busy! Call me in 20 mins", imageURL: "https://randomuser.me/api/portraits/women/2.jpg", time: "28 Mar"),
    ChatUsers(name: "Debra Hawkins", messageText: "Thankyou, It's awesome", imageURL: "https://randomuser.me/api/portraits/men/3.jpg", time: "23 Mar"),
    ChatUsers(name: "Jacob Pena", messageText: "will update you in evening", imageURL: "https://randomuser.me/api/portraits/women/3.jpg", time: "17 Mar"),
    ChatUsers(name: "Andrey Jones", messageText: "Can you please share the file?", imageURL: "https://randomuser.me/api/portraits/men/4.jpg", time: "24 Feb"),
    ChatUsers(name: "John Wick", messageText: "How are you?", imageURL: "https://randomuser.me/api/portraits/women/4.jpg", time: "18 Feb"),
  ];
원문에는 각각의
imageURL에 로컬 이미지 파일 패스를 입력해 줬는데, 나는 따로 저장해 놓은 파일이 없어서 인터넷 URL 로 수정
개별 대화를 위한 개별 클래스 위젯을 만들자
./lib 폴더에 ./widgets 라는 폴더를 생성
./models 안에 conversationList.dart 라는 파일을 생성 /lib/models/conversationList.dart 파일에
1
2
3
4
5
6
7
8
9
10
11
12
13
14
15
16
17
18
19
20
21
22
23
24
25
26
27
28
29
30
31
32
33
34
35
36
37
38
39
40
41
42
43
44
45
46
47
48
49
50
51
52
53
54
import 'package:flutter/material.dart';

class ConversationList extends StatefulWidget{
  String name;
  String messageText;
  String imageUrl;
  String time;
  bool isMessageRead;
  ConversationList({required this.name,required this.messageText,required this.imageUrl,required this.time,required this.isMessageRead});
  @override
  _ConversationListState createState() => _ConversationListState();
}

class _ConversationListState extends State<ConversationList> {
  @override
  Widget build(BuildContext context) {
    return GestureDetector(
      onTap: (){
      },
      child: Container(
        padding: EdgeInsets.only(left: 16,right: 16,top: 10,bottom: 10),
        child: Row(
          children: <Widget>[
            Expanded(
              child: Row(
                children: <Widget>[
                  CircleAvatar(
                    backgroundImage: NetworkImage(widget.imageUrl),
                    maxRadius: 30,
                  ),
                  SizedBox(width: 16,),
                  Expanded(
                    child: Container(
                      color: Colors.transparent,
                      child: Column(
                        crossAxisAlignment: CrossAxisAlignment.start,
                        children: <Widget>[
                          Text(widget.name, style: TextStyle(fontSize: 16),),
                          SizedBox(height: 6,),
                          Text(widget.messageText,style: TextStyle(fontSize: 13,color: Colors.grey.shade600, fontWeight: widget.isMessageRead?FontWeight.bold:FontWeight.normal),),
                        ],
                      ),
                    ),
                  ),
                ],
              ),
            ),
            Text(widget.time,style: TextStyle(fontSize: 12,fontWeight: widget.isMessageRead?FontWeight.bold:FontWeight.normal),),
          ],
        ),
      ),
    );
  }
}
추가
여기서는 chatUsersModel.dart 에 만든 객체의 변수 + 메세지 유형을 표시 할 bool 값을 파라미터로 사용하고, 그 값이 포함된 템플릿을 반환함
/lib/screen/chatPage.dart 의 ListView 위젯 안에서 필요한 파라미터를 전달하여, conversationList 위젯을 호출해야 함
언제나 그렇듯…먼저 임포트를 해주고
1
import 'package:flt_20220703_simple_chatapp/widgets/conversationList.dart';
Column 위젯의 내용을 변경 children:SafeArea(), Padding(), 다음에
1
2
3
4
5
6
7
8
9
10
11
12
13
14
15
ListView.builder(
  itemCount: chatUsers.length,
  shrinkWrap: true,
  padding: EdgeInsets.only(top: 16),
  physics: NeverScrollableScrollPhysics(),
  itemBuilder: (context, index){
    return ConversationList(
      name: chatUsers[index].name,
      messageText: chatUsers[index].messageText,
      imageUrl: chatUsers[index].imageURL,
      time: chatUsers[index].time,
      isMessageRead: (index == 0 || index == 3)?true:false,
    );
  },
),
를 추가해 주자
그리고 핫 로드를 하면 이런 화면이 된다
후기
dart … 처음 접하지만 라떼언어와 요즘언어의 짬뽕같은 느낌이라 둘 다 어설프게 아는 나는 오히려 받아들이기 쉬운 것 같기도 하다
다음은 채팅 세부 화면을 구현하는 내용!