
이 포스트는
을 따라서 작성한 Flutter Simple Chat UI 에 관한 내용이다.
관련 포스트
- Base, Chat 화면 구현
- Chat Detail 화면 구현 (현재 포스트)
- 응용 01 (Chat Detail 화면) 화면 간 데이터 전달, 메세지 입력
- 응용 02 데이터 로컬 저장 및 읽기, 쓰기
- 응용 03 데이터 로컬 저장 및 읽기,쓰기_메세지로그편
환경
- MacBook Air (M1, 2020)
macOS Monterey (v12.4)
- Flutter 3.0.3
Dart 2.17.5
- Visual Studio Code 1.69.0
Chatpage Detail : 화면 생성, 클릭 이벤트 적용
/lib/screens/ 폴더에 chatDetailPage.dart 생성하여 이하의 베이스 코드를 작성해 준다.
1
2
3
4
5
6
7
8
9
10
11
12
13
14
15
16
17
18
19
import 'package:flutter/material.dart';

class ChatDetailPage extends StatefulWidget{
  @override
  _ChatDetailPageState createState() => _ChatDetailPageState();
}

class _ChatDetailPageState extends State<ChatDetailPage> {

  @override
  Widget build(BuildContext context) {
    return Scaffold(
      appBar: AppBar(
        title: Text("Chat Detail"),
      ),
      body: Container()
    );
  }
}
_ChatDetailPageState 클래스는
AppBar: 텍스트
body: 빈 컨테이너
가 포함된 Scaffold 위젯을 반환한다.
conversationList에 표시된 개체 하나가 선택되었을 때, 이 화면을 활성화 해 주어야 하기 때문에,
/lib/models/conversationList.dart 파일의 GestureDetector위젯, onTap 키의 값으로 해당 동작을 하는 코드를 추가해 줘야 한다.
그전에 잊지 말자 임포트
1
import 'package:flt_20220703_simple_chatapp/screen/chatDetailPage.dart';
1
2
3
4
5
    onTap: () {
        Navigator.push(context, MaterialPageRoute(builder: (context) {
          return ChatDetailPage();
        }));
      },
그럼 이렇게 클릭 이벤트가 적용된다.
Chatpage Detail UI 구현
헤더 : UI 변경
방금 만든 화면의 헤더에는 Chat Detail라는 텍스트만 써있지만, 보통은 대화를 나누는 사람의 정보가 들어간다. 그러니 대화 상대의 정보가 들어가는 UI를 만들어주자.
헤더 정보를 수정하고 싶은거니까 어디를 수정해야한다?
appBar키의 값을 수정해야한다~
그냥 텍스트만 달랑 써주는 title: Text("Chat Detail"),을 지워주고 이하의 코드를 작성한다.
1
2
3
4
5
6
7
8
9
10
11
12
13
14
15
16
17
18
19
20
21
22
23
24
25
26
27
28
29
30
31
32
33
34
35
36
37
38
      appBar: AppBar(
        elevation: 0,
        automaticallyImplyLeading: false,
        backgroundColor: Colors.white,
        flexibleSpace: SafeArea(
          child: Container(
            padding: EdgeInsets.only(right: 16),
            child: Row(
              children: <Widget>[
                IconButton(
                  onPressed: (){
                    Navigator.pop(context);
                  },
                  icon: Icon(Icons.arrow_back,color: Colors.black,),
                ),
                SizedBox(width: 2,),
                CircleAvatar(
                  backgroundImage: NetworkImage("https://randomuser.me/api/portraits/men/5.jpg"),
                  maxRadius: 20,
                ),
                SizedBox(width: 12,),
                Expanded(
                  child: Column(
                    crossAxisAlignment: CrossAxisAlignment.start,
                    mainAxisAlignment: MainAxisAlignment.center,
                    children: <Widget>[
                      Text("Kriss Benwat",style: TextStyle( fontSize: 16 ,fontWeight: FontWeight.w600),),
                      SizedBox(height: 6,),
                      Text("Online",style: TextStyle(color: Colors.grey.shade600, fontSize: 13),),
                    ],
                  ),
                ),
                Icon(Icons.settings,color: Colors.black54,),
              ],
            ),
          ),
        ),
      ),
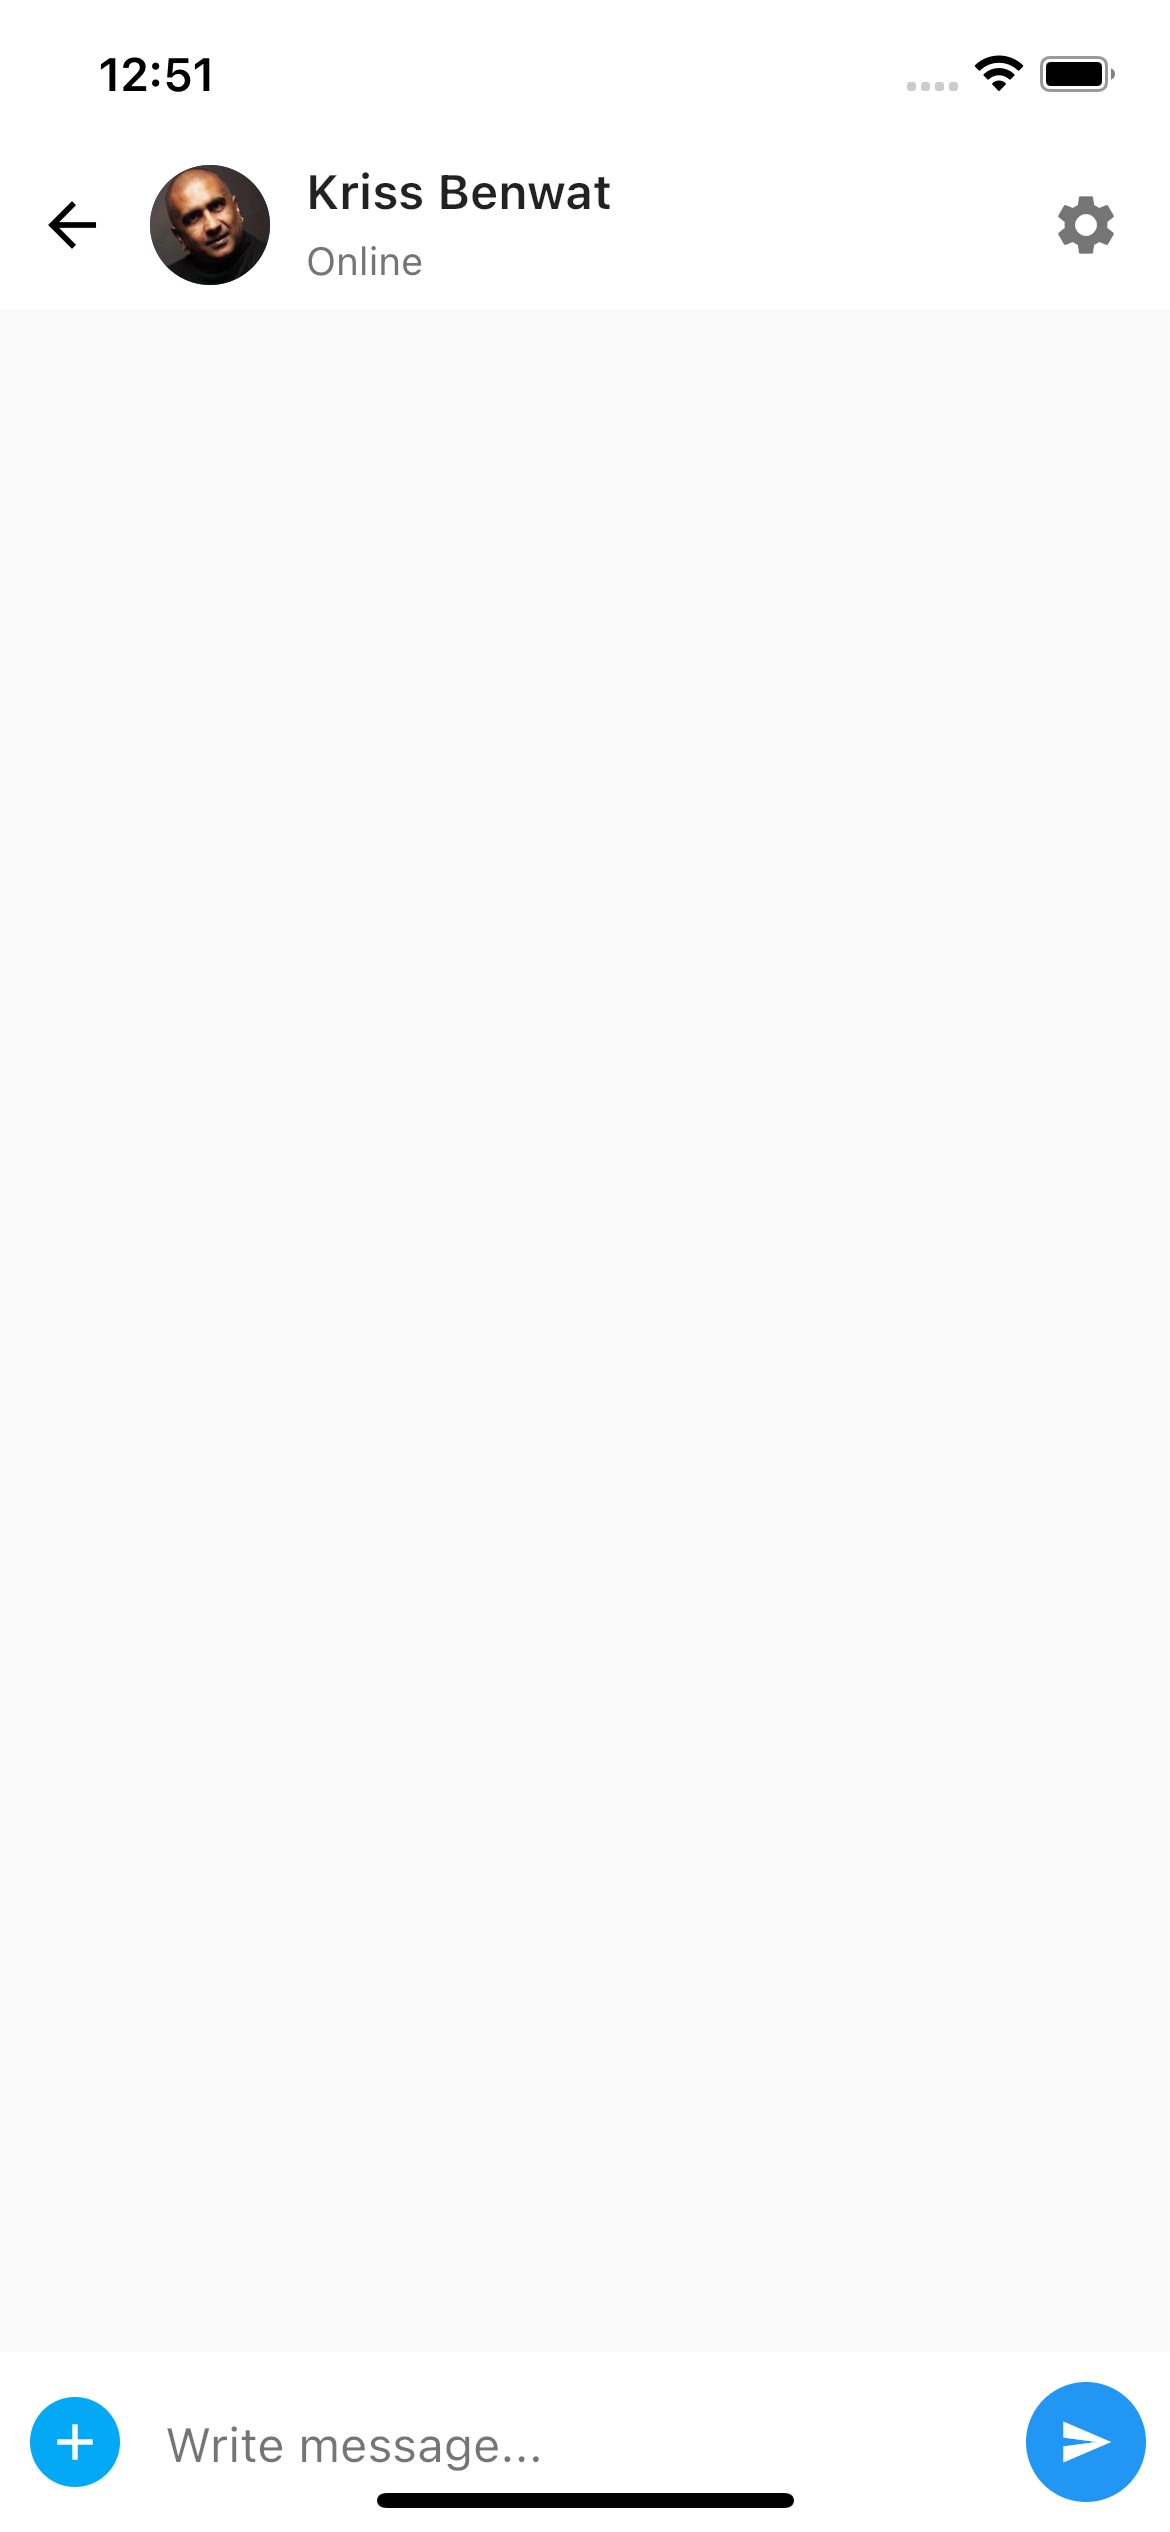
그럼 헤더에 Chat Detail이라는 텍스트 대신, 이하와 같은 UI가 보일 것이다.

바텀 : 텍스트 박스 추가
이제 하단에 메세지를 입력할 수 있는 텍스트 박스와 송신 버튼, 이미지 등을 추가하기 위한 버튼을 배치해 주자.
현재의 코드에서는 _ChatDetailPageState 클래스의 바디가 여전히 컨테이너만을 가지고 있을 것이다. ( body: Container()) )
그러므로 body 의 값을 텍스트 박스, 버튼 개체를 표시해주는 코드로 변경한다.
여기서는 이 개체들을 가로로 배치해 주고 싶기 떄문에 정렬(Align) 위젯을 사용, child 키의 값에 Row 위젯을 배치하여 그 안에 개채들을 넣어 주고 있다.
1
2
3
4
5
6
7
8
9
10
11
12
13
14
15
16
17
18
19
20
21
22
23
24
25
26
27
28
29
30
31
32
33
34
35
36
37
38
39
40
41
42
43
44
45
46
47
48
      body: Stack(
        children: <Widget>[
          Align(
            alignment: Alignment.bottomLeft,
            child: Container(
              padding: EdgeInsets.only(left: 10,bottom: 10,top: 10),
              height: 60,
              width: double.infinity,
              color: Colors.white,
              child: Row(
                children: <Widget>[
                  GestureDetector(
                    onTap: (){
                    },
                    child: Container(
                      height: 30,
                      width: 30,
                      decoration: BoxDecoration(
                        color: Colors.lightBlue,
                        borderRadius: BorderRadius.circular(30),
                      ),
                      child: Icon(Icons.add, color: Colors.white, size: 20, ),
                    ),
                  ),
                  SizedBox(width: 15,),
                  Expanded(
                    child: TextField(
                      decoration: InputDecoration(
                        hintText: "Write message...",
                        hintStyle: TextStyle(color: Colors.black54),
                        border: InputBorder.none
                      ),
                    ),
                  ),
                  SizedBox(width: 15,),
                  FloatingActionButton(
                    onPressed: (){},
                    child: Icon(Icons.send,color: Colors.white,size: 18,),
                    backgroundColor: Colors.blue,
                    elevation: 0,
                  ),
                ],

              ),
            ),
          ),
        ],
      ),
메세지 로그 : 메세지 추가
이제 메세지 로그가 띄워지는 화면에 그럴 듯한 메세지가 띄워지는 것 같은 UI를 만들기 위해 일단 메세지를 입력해 줄 것이다.
/lib/models/ 폴더에 chatMessageModel.dart 생성하여 메세지 클래스를 작성해 준다.
1
2
3
4
5
6
7
import 'package:flutter/cupertino.dart';

class ChatMessage{
  String messageContent;
  String messageType;
  ChatMessage({required this.messageContent, required this.messageType});
}
여기서도
ChatMessage클래스와 같은이유로, 원문과 같은@required어노테이션(Annotation)이 아닌requried로 대체해 주자
다시 chatDetailPage.dart 파일로 돌아와서 표시될 메세지 리스트를 만들어 준다. 지금은 하드코딩(ㅋㅋ)을 해주지만 나중에는 수신된 메세지 리스트를 받아오면 될 것이다.
먼저 작성한 모델을 임포트 해준후
1
import 'package:flt_20220703_simple_chatapp/models/chatMessageModel.dart';
이하의 리스트를 _ChatDetailPageState 클래스에 넣어주자. messageContent의 내용은 마음대로.
1
2
3
4
5
6
7
  List<ChatMessage> messages = [
    ChatMessage(messageContent: "Hello, Will", messageType: "receiver"),
    ChatMessage(messageContent: "How have you been?", messageType: "receiver"),
    ChatMessage(messageContent: "Hey Kriss, I am doing fine dude. wbu?", messageType: "sender"),
    ChatMessage(messageContent: "ehhhh, doing OK.", messageType: "receiver"),
    ChatMessage(messageContent: "Is there any thing wrong?", messageType: "sender"),
  ];
이제 데이터는 준비되었으니 이 데이터를 표시하는 UI를 추가해주자.
이 메세지가 표시되는 곳은 body이지만, 바로 전 챕터에서 작성한 바텀의 윗부분에 배치해 주어야 하기 때문에 Stack 위젯 안쪽, 정렬(Align) 위젯 위쪽에, children 키를 추가하여 그 값으로 리스트 뷰를 빌드해 줘야한다.
1
2
3
4
5
6
7
8
9
10
11
12
        ListView.builder(
            itemCount: messages.length,
            shrinkWrap: true,
            padding: EdgeInsets.only(top: 10,bottom: 10),
            physics: NeverScrollableScrollPhysics(),
            itemBuilder: (context, index){
              return Container(
                padding: EdgeInsets.only(left: 16,right: 16,top: 10,bottom: 10),
                child: Text(messages[index].messageContent),
              );
            },
          ),
그럼 화면이 이렇게 데이터가 보여지게 된다.
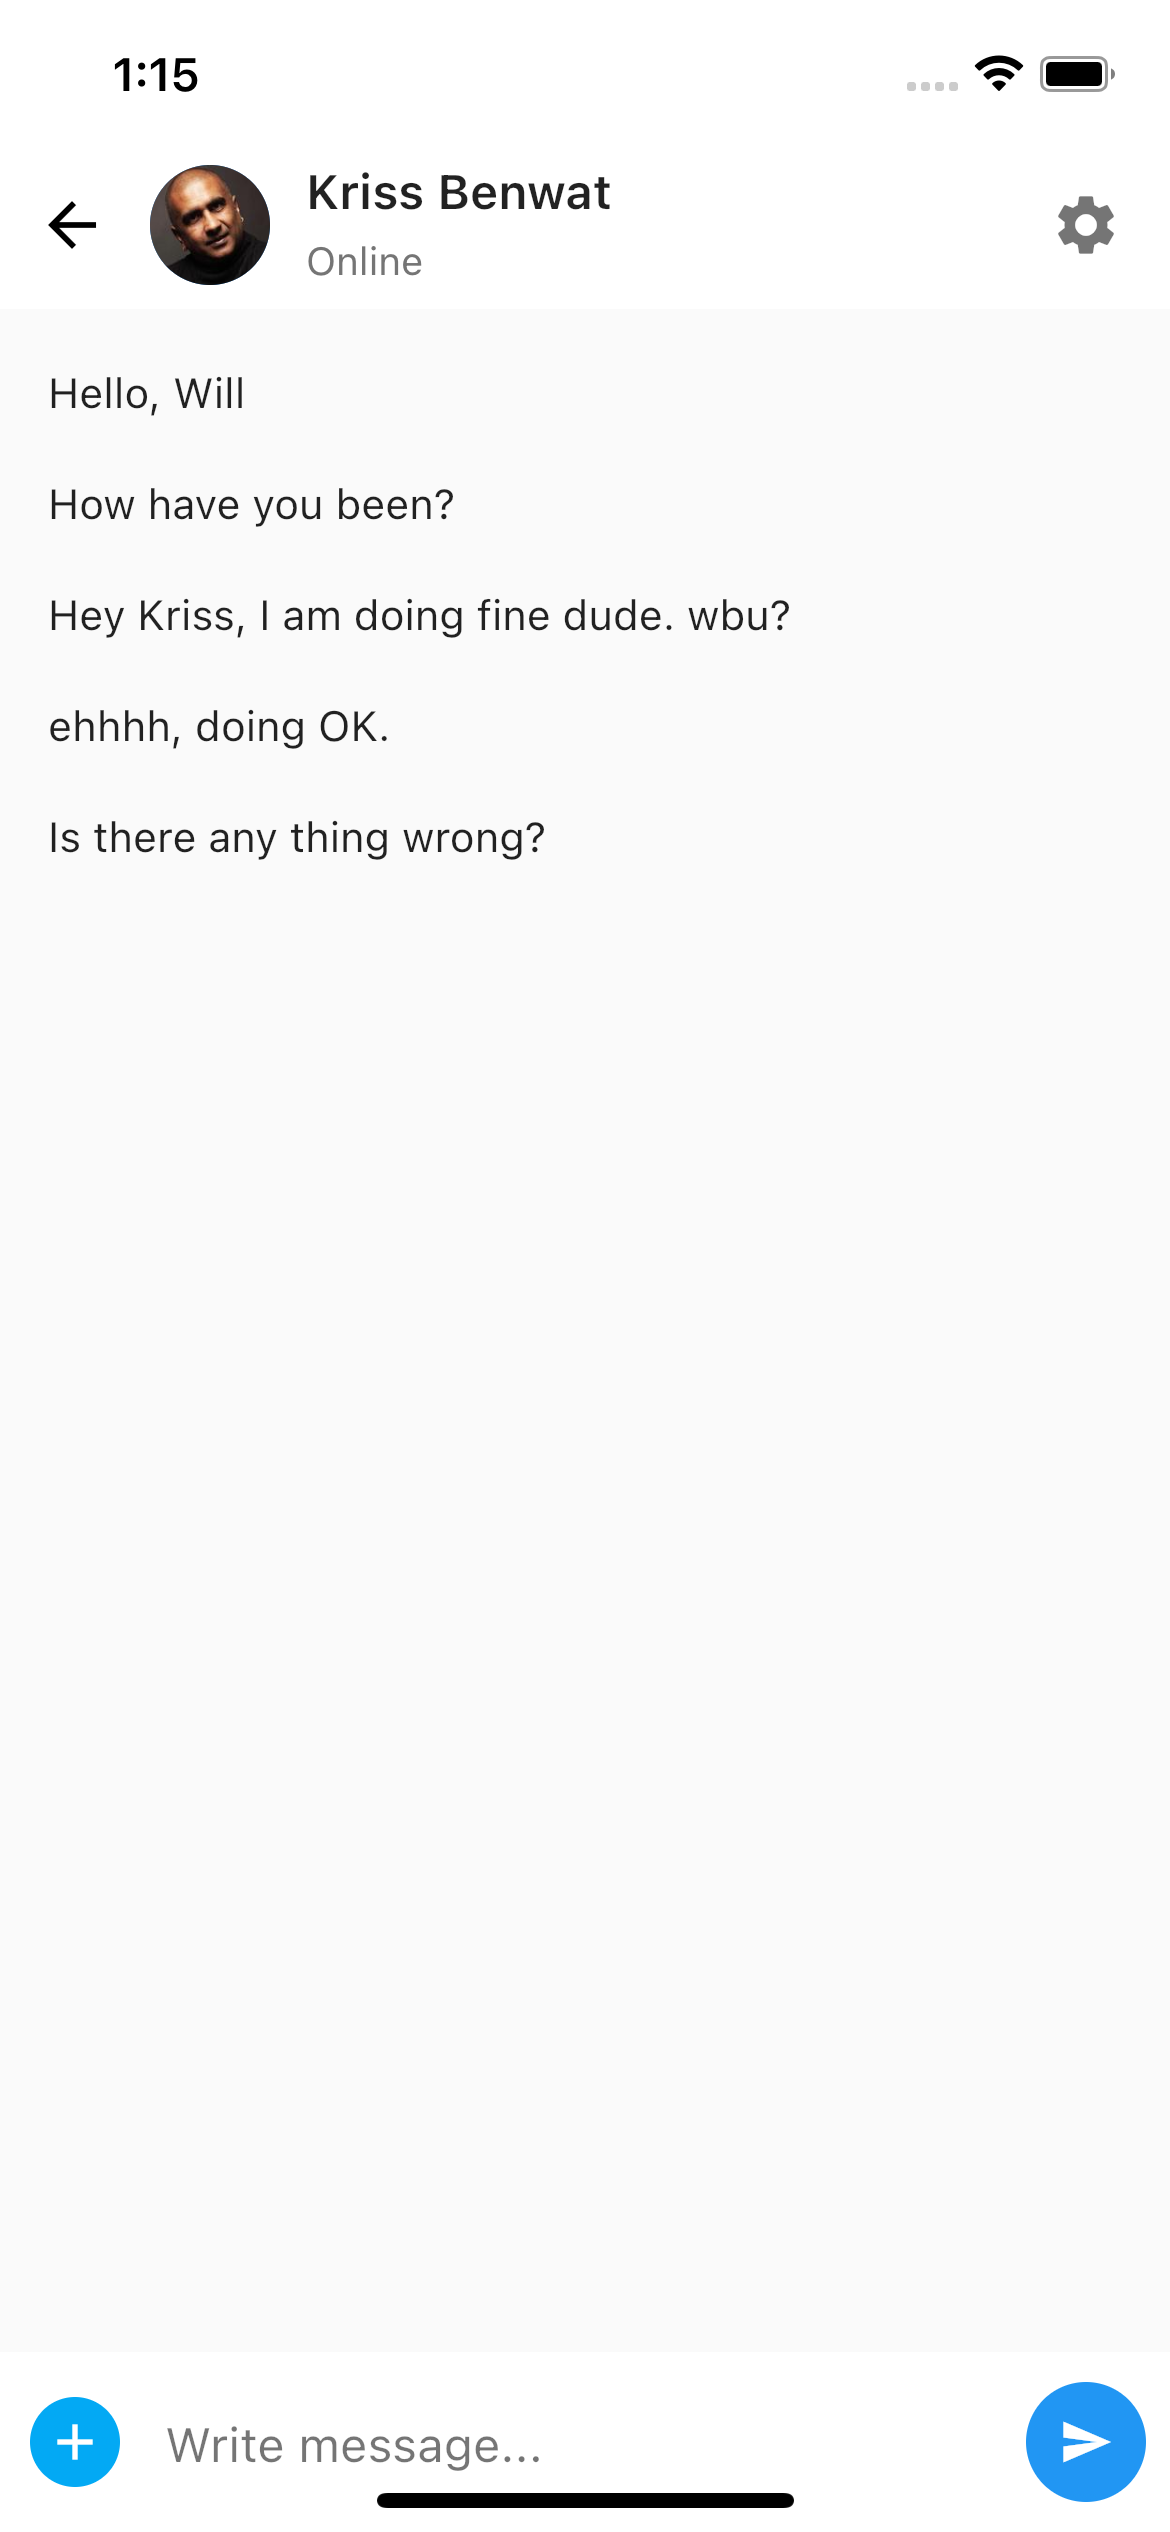
메세지 로그 : 송신자, 수신자 UI 작성
메세지가 띄워지긴 헀지만, 채팅 페이지 같지는 않다. 이 메세지 내용들의 송신자, 수신자를 구분할 수 있도록 말풍선 UI안에 메세지가 띄워질 수 있도록 만들어 주자.
방금 전 추가해 주었던 ListView의 itemBuilder키를 손봐줄 것이다. 현재는 단순히 텍스트를 표시해주고 있는 것을 알 수 있는데 (child: Text(messages[index].messageContent),), 이곳을 Text위젯이 아닌 Align위젯으로 변경해 준 후, 배치할 요소들을 넣어줄 것이다.
1
2
3
4
5
6
7
8
9
10
11
12
13
14
15
16
17
18
19
20
21
22
        ListView.builder(
          itemCount: messages.length,
          shrinkWrap: true,
          padding: EdgeInsets.only(top: 10,bottom: 10),
          physics: NeverScrollableScrollPhysics(),
          itemBuilder: (context, index){
            return Container(
              padding: EdgeInsets.only(left: 16,right: 16,top: 10,bottom: 10),
              child: Align(
                alignment: (messages[index].messageType == "receiver"?Alignment.topLeft:Alignment.topRight),
                child: Container(
                decoration: BoxDecoration(
                    borderRadius: BorderRadius.circular(20),
                    color: (messages[index].messageType  == "receiver"?Colors.grey.shade200:Colors.blue[200]),
                ),
                padding: EdgeInsets.all(16),
                child: Text(messages[index].messageContent, style: TextStyle(fontSize: 15),),
                ),
              ),
            );
          },
        ),
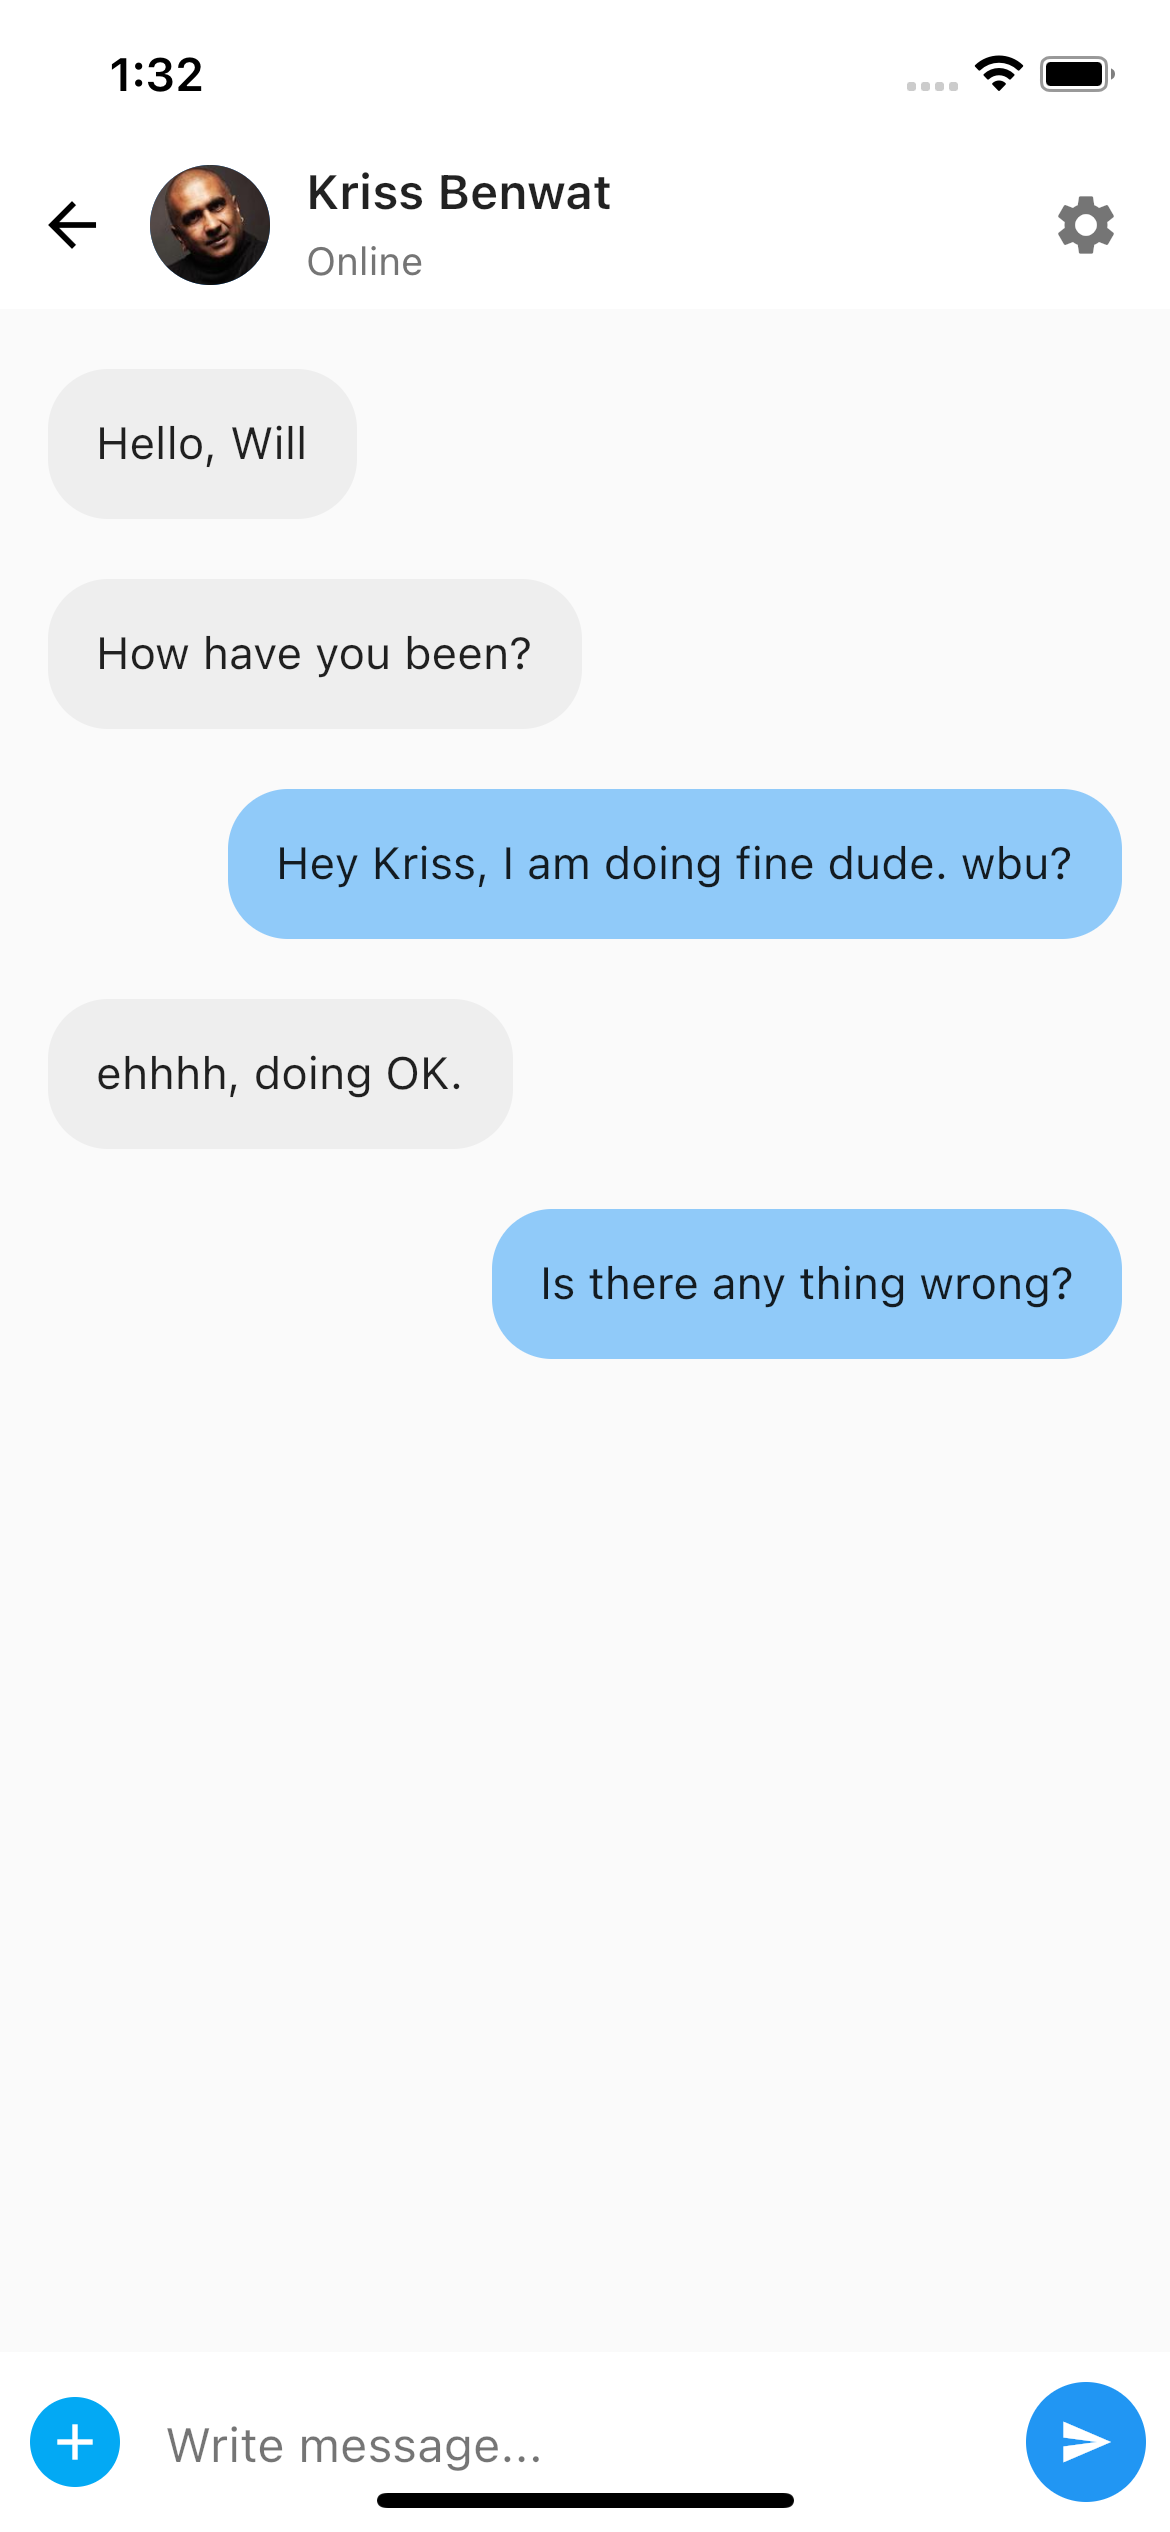
핫 로드를 해주면 이런 완성 화면이 나온다!
후기
작성자가 Flutter chat app 이라는 페이지를 소개하고 있는데 이런 채팅 앱의 템플릿을 판매하는 사이트니 참고할 사람은 참고하시길.
개별 스크린 설계, 클릭 이벤트 같은 기본적인 UI 구현을 익히기 좋은 예제 같다.
이 예제를 통해 만든 UI를 기반으로 화면 간의 값 전달이나 실제로 메세지를 주고 받을 수 있는 소켓 프로그래밍을 하면 결과가 눈에 보이면서 재밌을 것 같으니 해보도록 하겠다.